Extend traces

Custom rendering for span fields

Although the built-in span viewers cover a variety of different span field display types— YAML, JSON, Markdown, LLM calls, and more—you may want to further customize the display of your span data. For example, you could include the id of an internal database and want to fetch and display its contents in the span viewer. Or, you may want to reformat the data in the span in a way that's more useful for your use case than the built-in options.

Span iframes provide complete control over how you visualize span data, making them particularly valuable for when you have custom visualization needs or want to incorporate data from external sources. They also support interactive features - for example, you can implement custom human review feedback mechanisms like thumbs up/down buttons on image search results and write the scores directly to the expected or metadata fields.

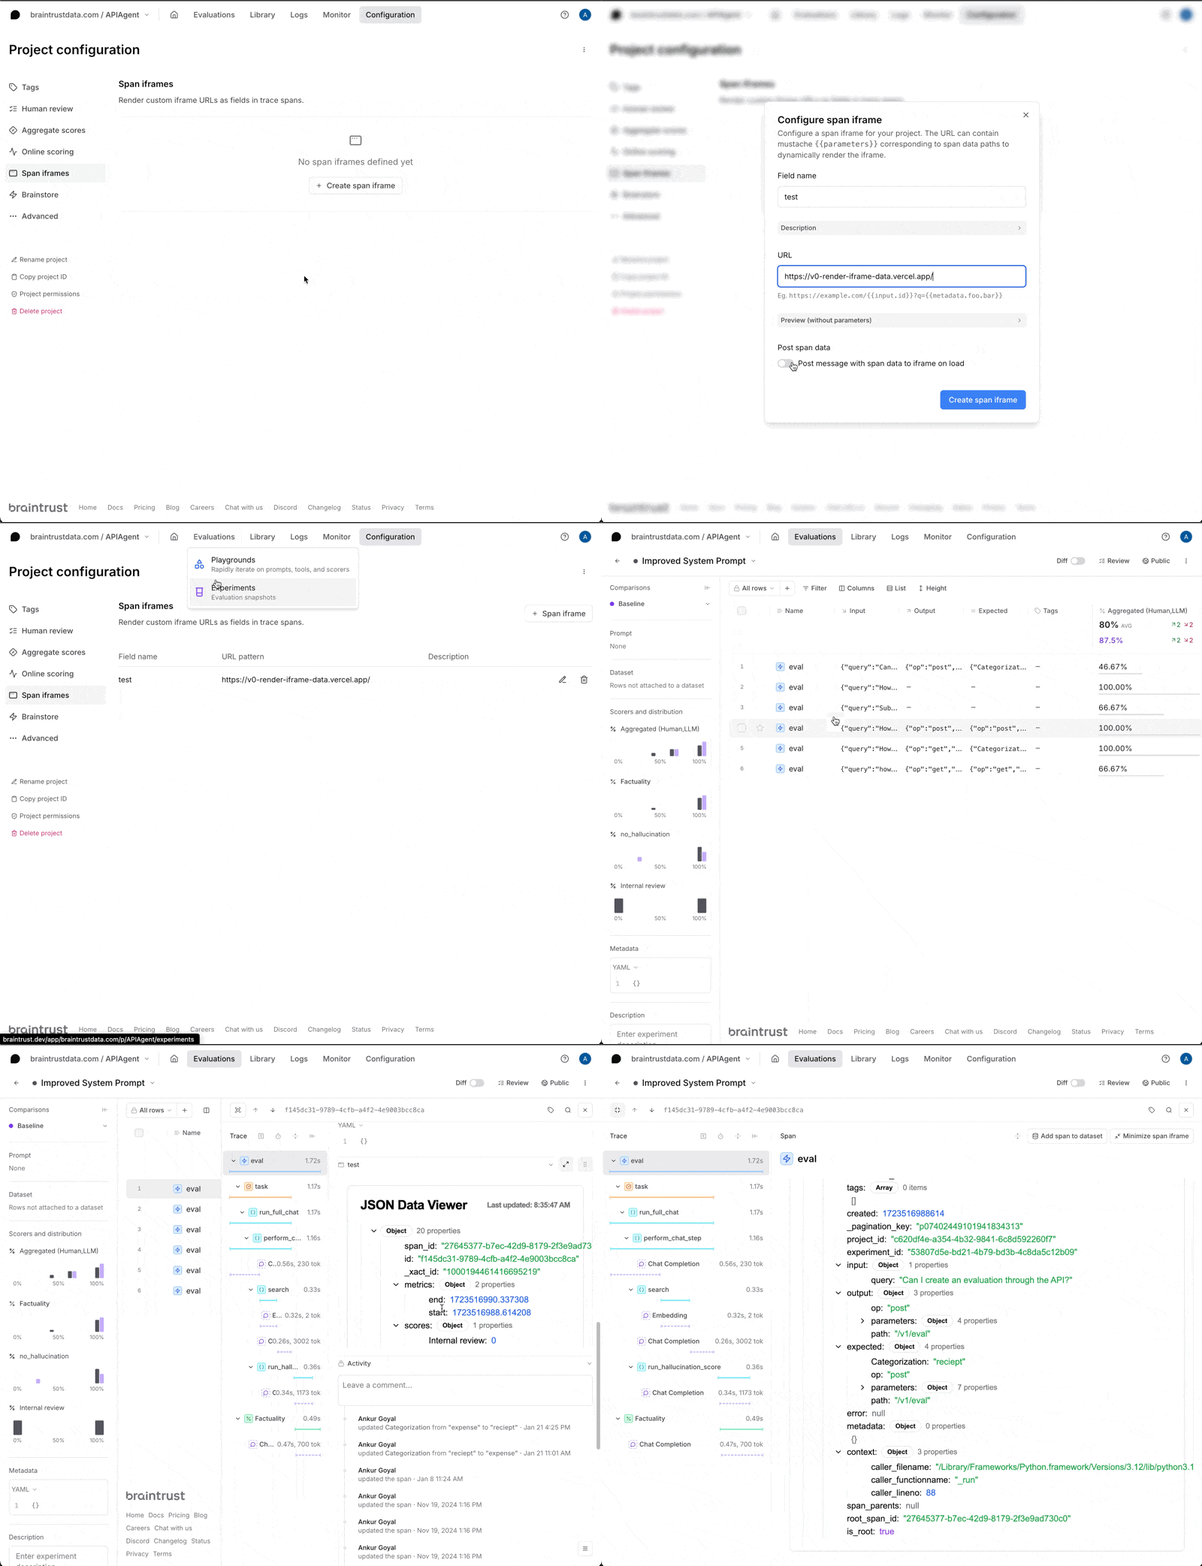
To enable a span iframe, visit the Configuration tab of a project, and create one. You can define the URL, and then customize its behavior:

  • Provide a title, which is displayed at the top of the section.
  • Provide, via mustache, template parameters to the URL. These parameters are in terms of the top-level span fields, e.g. {{input}}, {{output}}, {{expected}}, etc. or their subfields, e.g. {{input.question}}.
  • Allow Braintrust to send a message to the iframe with the span data, which is useful when the data may be very large and not fit in a URL.
  • Send messages from the iframe back to Braintrust to update the span data.

While these iframes are hosted on your end, you can leverage tools like val.town or v0.dev to quickly build and host these pages.

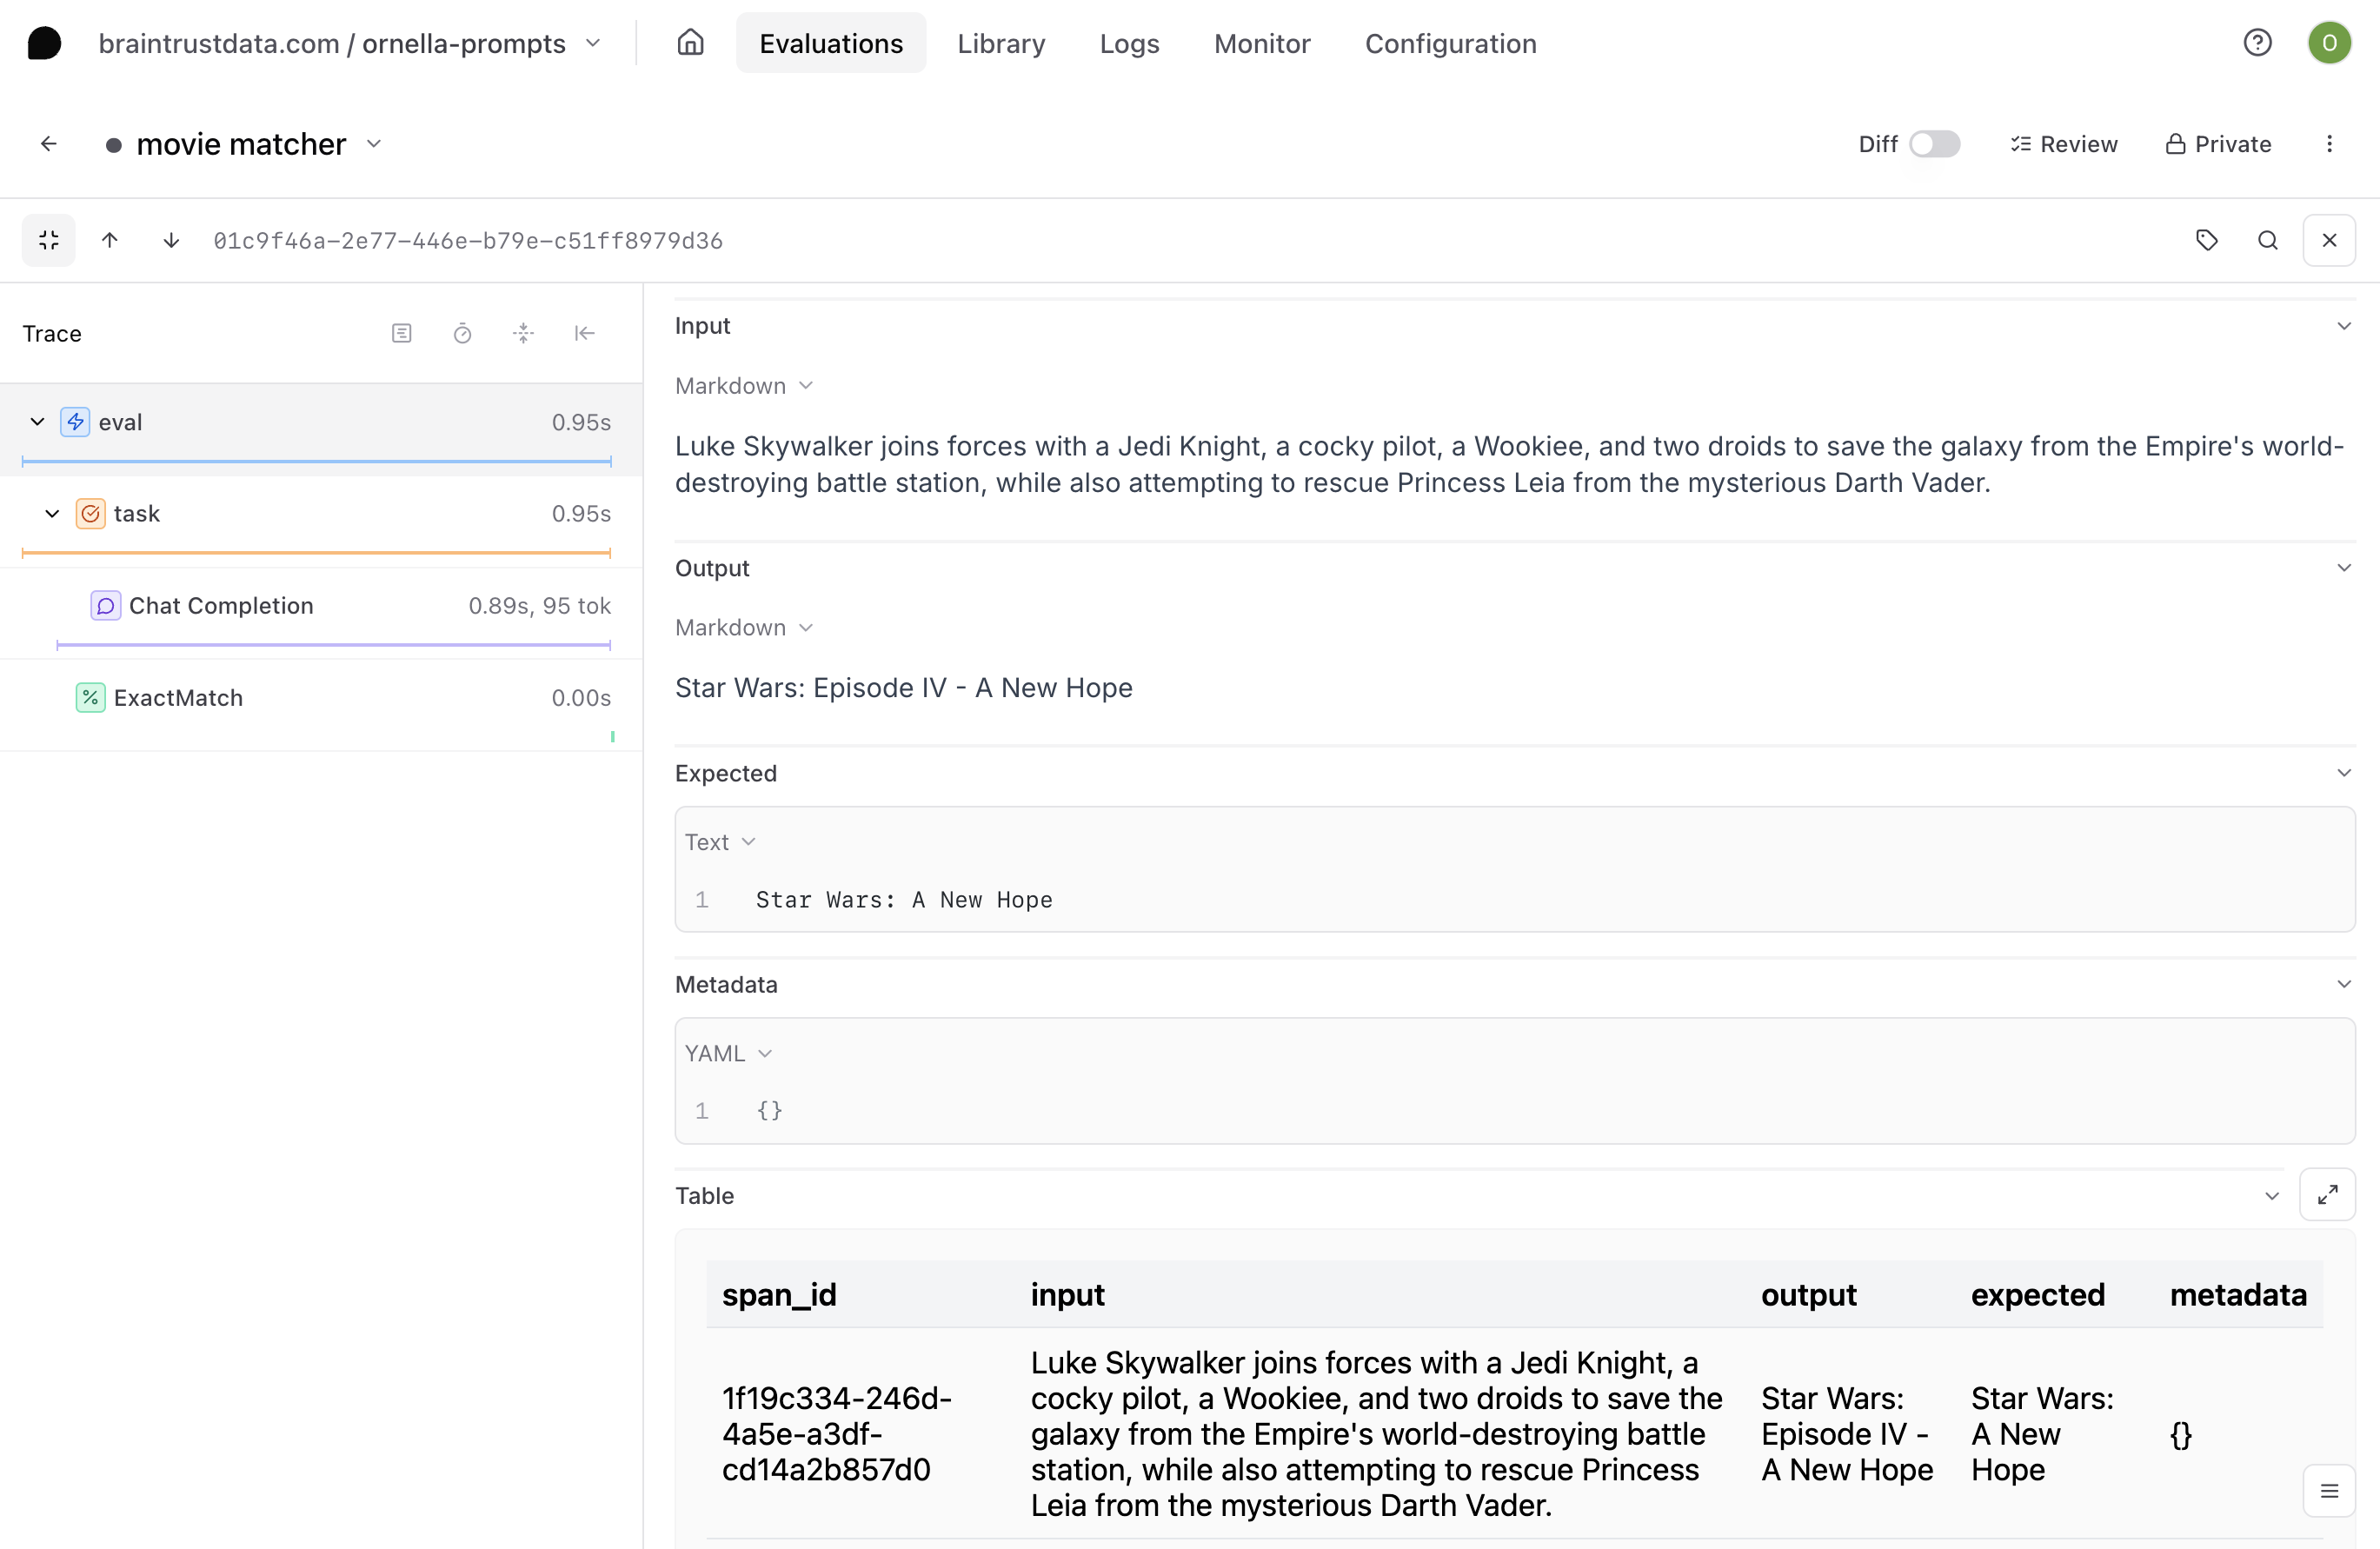
Span iframe In this example, the "Table" section is a custom span iframe.

Iframe message format

In Zod format, the message schema looks like this:

import { z } from "zod";
 
export const settingsMessageSchema = z.object({
  type: z.literal("settings"),
  settings: z.object({
    theme: z.enum(["light", "dark"]),
    // This is not currently used, but in the future, span iframes will support
    // editing and sending back data.
    readOnly: z.boolean(),
  }),
});
 
export const iframeUpdateMessageSchema = z.object({
  type: z.literal("update"),
  field: z.string(),
  data: z.any(),
});
 
export const dataMessageSchema = z.object({
  type: z.literal("data"),
  data: z.object({
    input: z.array(z.record(z.unknown())),
  }),
});
 
export const messageSchema = z.union([
  settingsMessageSchema,
  dataMessageSchema,
]);

Sample workflow

Say you want to render the input, output, expected, and id fields for a given span in a table format for easier parsing.

The first thing you'll need to do is choose where to host your table. Span iframes are externally hosted, either in your own infrastructure or a cloud hosting service. In this example, we'll use Val Town. Navigate to val.town and create an account if you don't already have one.

Next, you'll need to write the code for the component you'd like to render inside of your span, making sure that it uses the correct message handling to allow communication with Braintrust. To speed things up, we can go to Townie, Val Town's AI assistant that helps you get pages up and running quickly. Prompt the AI to generate your table code for you, keeping these few things in mind:

  • You'll want to add the message handling that allows the iframe to send messages back to Braintrust

To do this, we use the window.postMessage() method behind the scenes.

  • You'll want to use some hardcoded span data to illustrate what it might look like in the preview before you ship

For example, your prompt might look something like this:

Create a table component in React that uses this type of message handling:

"use client";

import {
  Table,
  TableBody,
  TableCell,
  TableHead,
  TableHeader,
  TableRow,
} from "@/components/ui/table";
import { useEffect, useMemo, useState } from "react";
import { z } from "zod";

export const dataMessageSchema = z.object({
  type: z.literal("data"),
  data: z.object({
    input: z.array(z.record(z.string())),
  }),
});

export const settingsMessageSchema = z.object({
  type: z.literal("settings"),
  settings: z.object({
    theme: z.enum(["light", "dark"]),
    readOnly: z.boolean(),
  }),
});

export const messageSchema = z.union([
  dataMessageSchema,
  settingsMessageSchema,
]);

export type Message = z.infer<typeof messageSchema>;

export default function TablePage() {
  const [data, setData] = useState<Record<string, unknown>[]>([]);

  useEffect(() => {
    const handleMessage = (event: MessageEvent) => {
      try {
        const message = messageSchema.parse(event.data);
        if (message.type === "data") {
          setData(message.data.input);
        }
      } catch (error) {
        console.error("Invalid message received:", error);
      }
    };

    window.addEventListener("message", handleMessage);

    return () => {
      window.removeEventListener("message", handleMessage);
    };
  }, []);

  const headers = useMemo(
    () => (data.length > 0 ? Object.keys(data[0]) : []),
    [data]
  );

  if (data.length === 0) {
    return <div>No data</div>;
  }

  return (
    <Table>
      <TableHeader>
        <TableRow>
          {headers.map((header) => (
            <TableHead key={header}>{header}</TableHead>
          ))}
        </TableRow>
      </TableHeader>
      <TableBody>
        {data.map((row, i) => (
          <TableRow key={i}>
            {headers.map((header) => (
              <TableCell key={header}>
                {typeof row[header] === "string" ? row[header] : "N/A"}
              </TableCell>
            ))}
          </TableRow>
        ))}
      </TableBody>
    </Table>
  );
}

Here's an example of how the data should look:
{
  type: 'data',
  data: {
    span_id: 'd42cbeb6-aaff-43d6-8517-99bbbd82b941',
    input: "Some input text",
    output: "Some output text",
    expected: 1,
    metadata: { some: "additional info" }
  }
}

Use this sample span data to illustrate how the table will look:
ID: initial-sample
Input: An orphaned boy discovers he's a wizard on his 11th birthday when Hagrid escorts him to magic-teaching Hogwarts School.
Output: Harry Potter and the Philosopher's Stone
Expected: Harry Potter and the Sorcerer's Stone
Metadata: null

Make sure the Zod schema is flexible for different data types and make sure all the properties from the message are included. Also be sure to handle any undefined values.

Townie will generate some code for you and automatically deploy it to a URL. Check it out and make sure the table looks how you'd like, then copy the URL.

Lastly, go back to Braintrust and visit the Configuration tab of your project, then navigate down to the span iframe section. Paste in the URL of your hosted table.
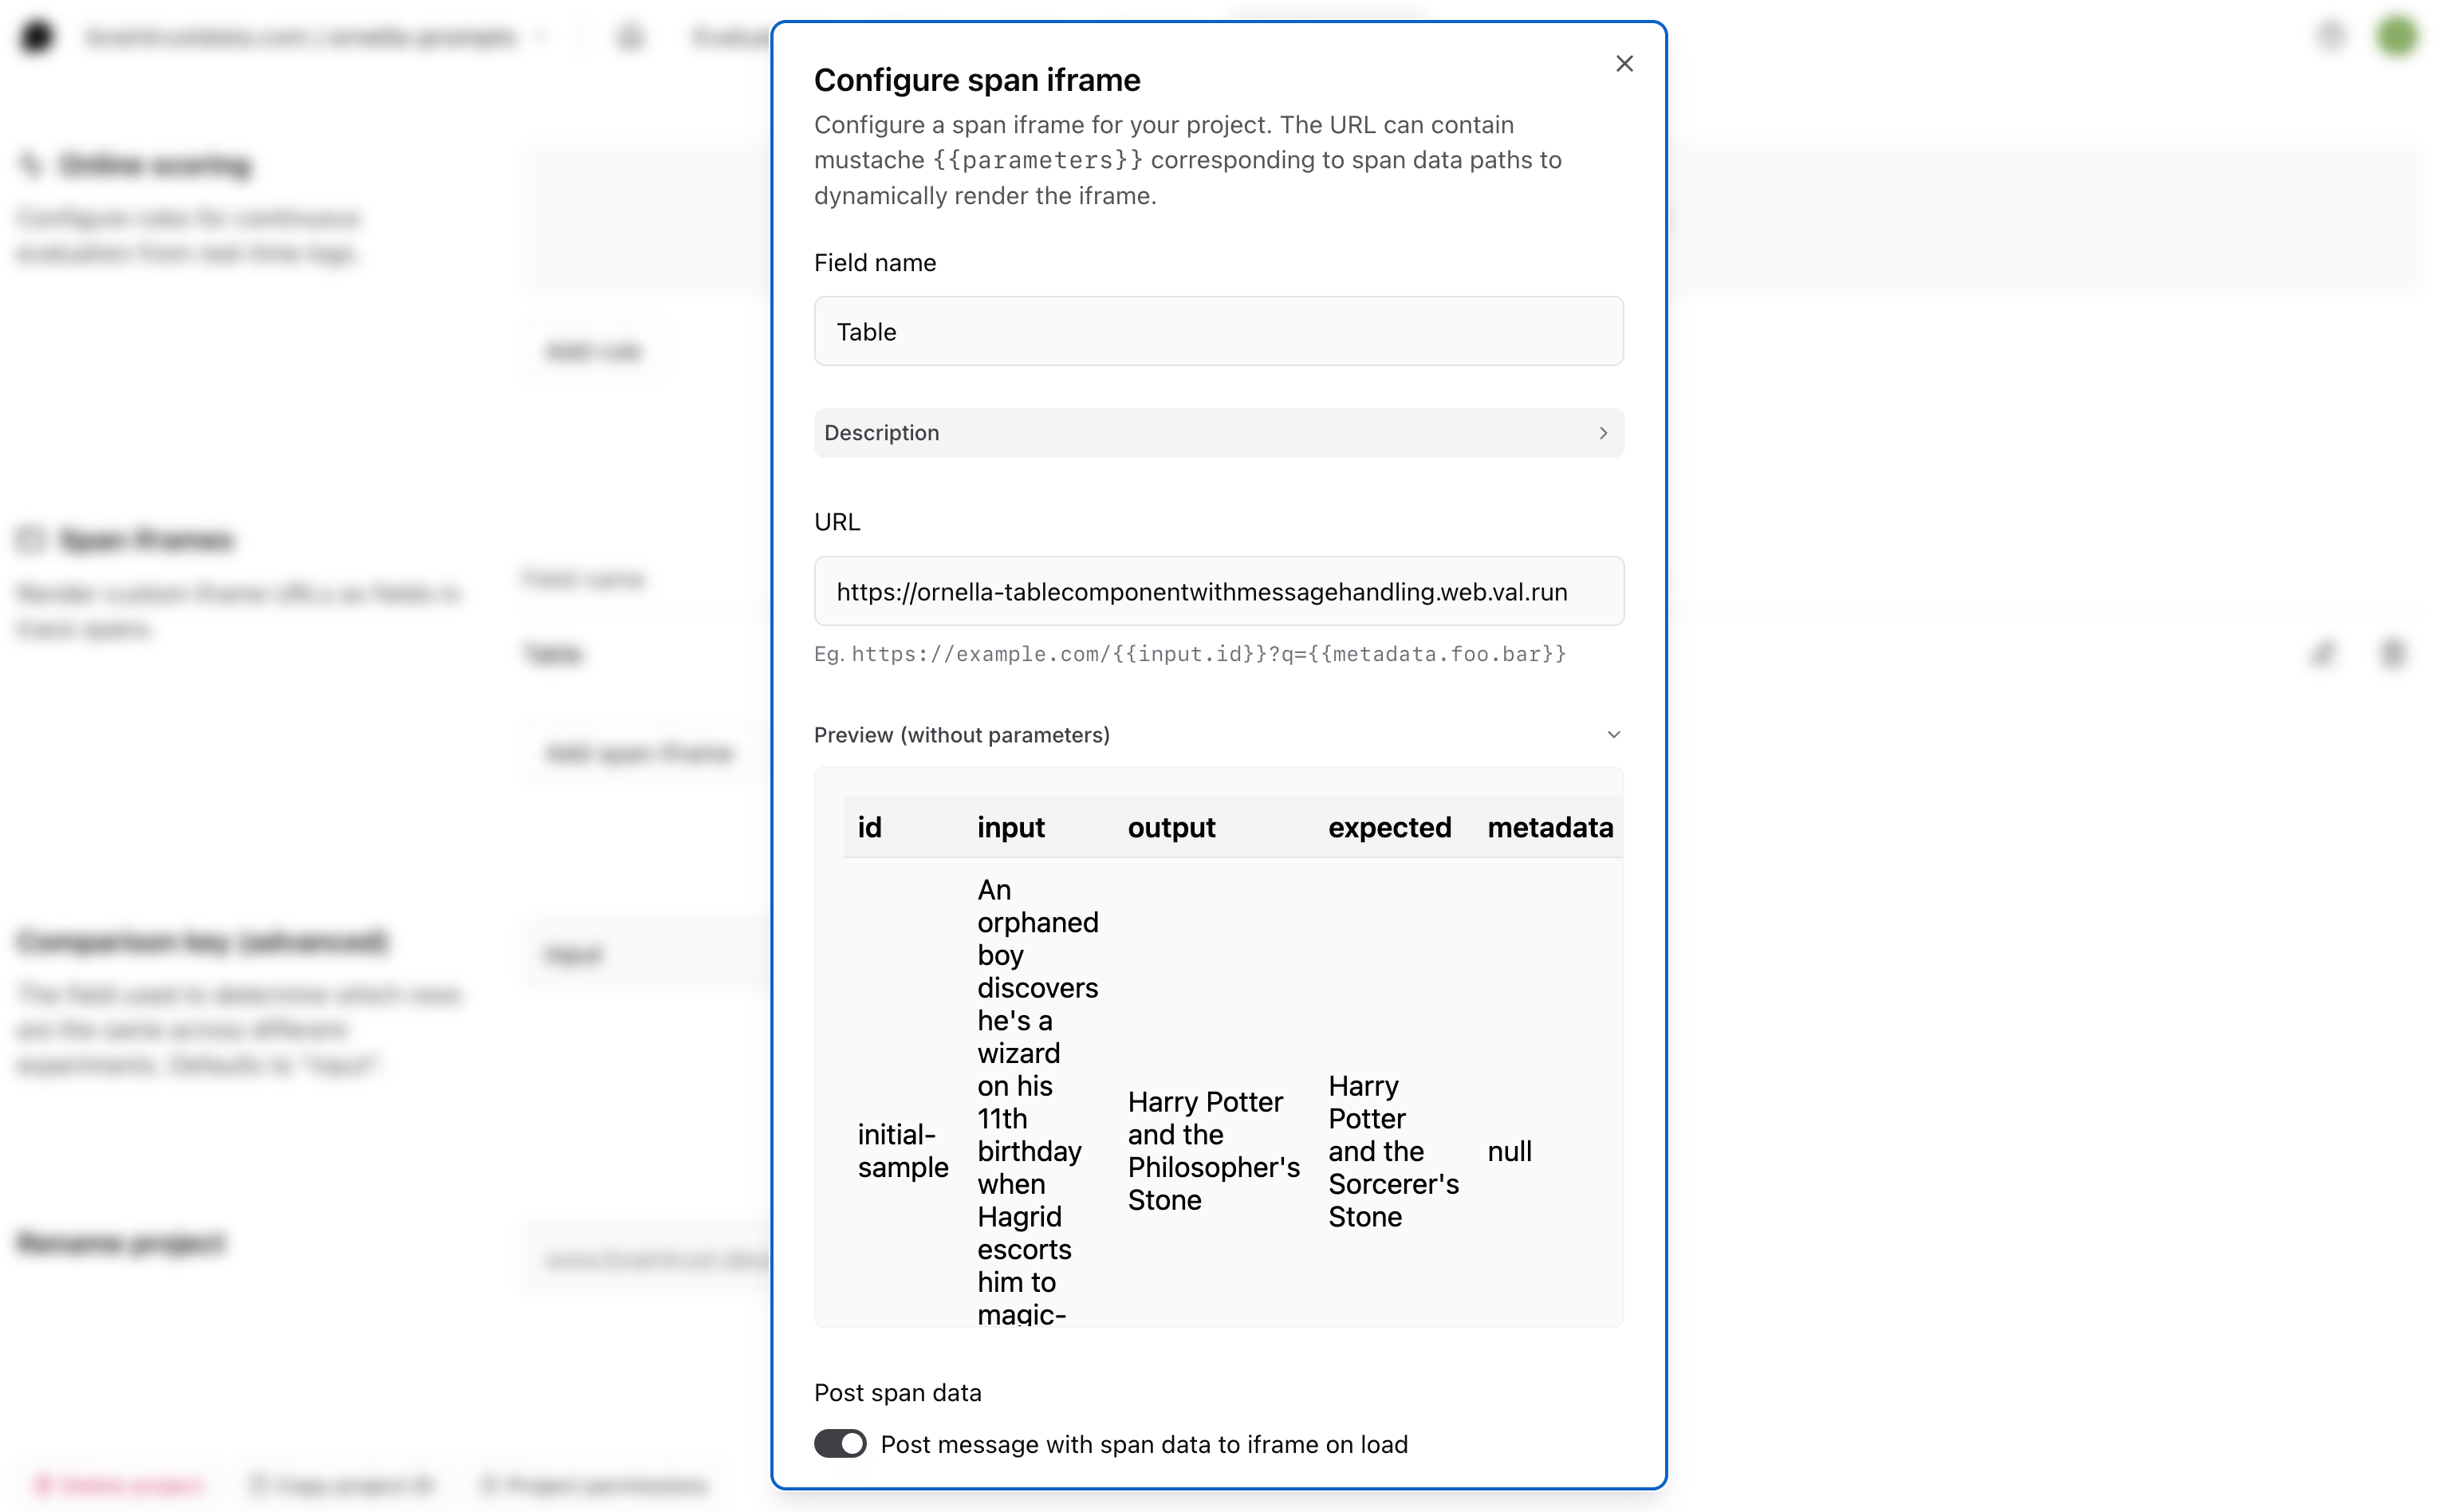
Configure span iframe

Now, when you go to a span in your project, you should see the table you created, but populated with the corresponding data for each span.

Rendered table iframe

Example code

To help you get started, check out the braintrustdata/braintrust-viewers repository on Github, which contains example code for rendering a table, X/Tweet, and more.

On this page