Create a prompt
- UI
- SDK
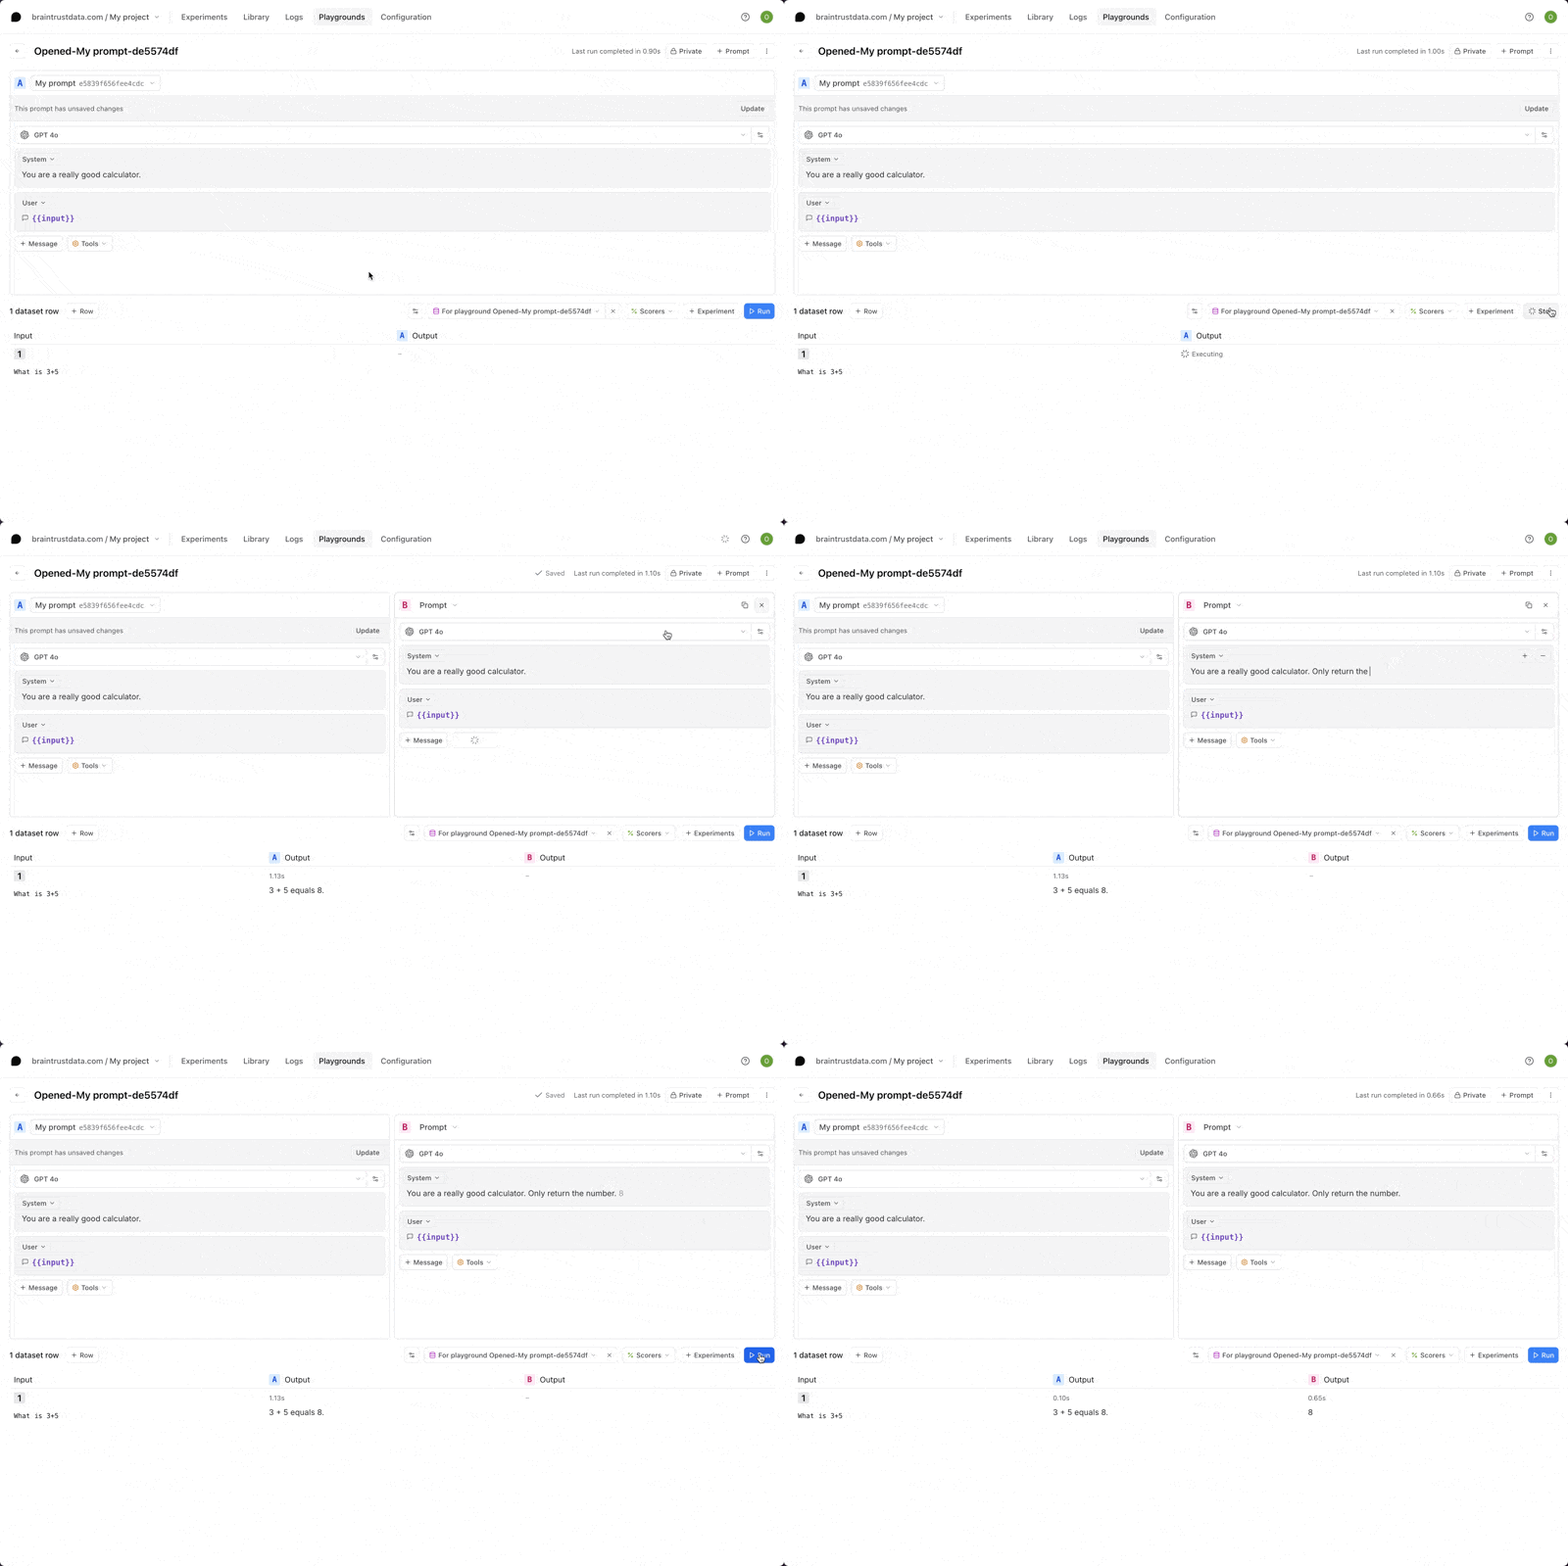
To create a prompt in the UI:
- Go to Prompts and click Prompt.
-
Specify the following:
- Name: A descriptive display name for the prompt.
- Slug: A unique, stable identifier used to reference the prompt in code. The slug remains constant even when you update the prompt’s content or name.
- Model and parameters: The model to use, along with model-specific parameters to configure, such as temperature to control randomness and max tokens to limit response length.
- Messages: The messages to send to the model to generate a response. Each message has a role (system, user, assistant, or tool) to help the model understand who is speaking and how to respond. Messages can contain text or include images (for vision-capable models).
- Templating syntax: The templating syntax to use for variables in your prompt message that get substituted with actual values when the prompt is invoked. Braintrust supports Mustache and Nunjucks templating syntax. For more details, see Use templating.
-
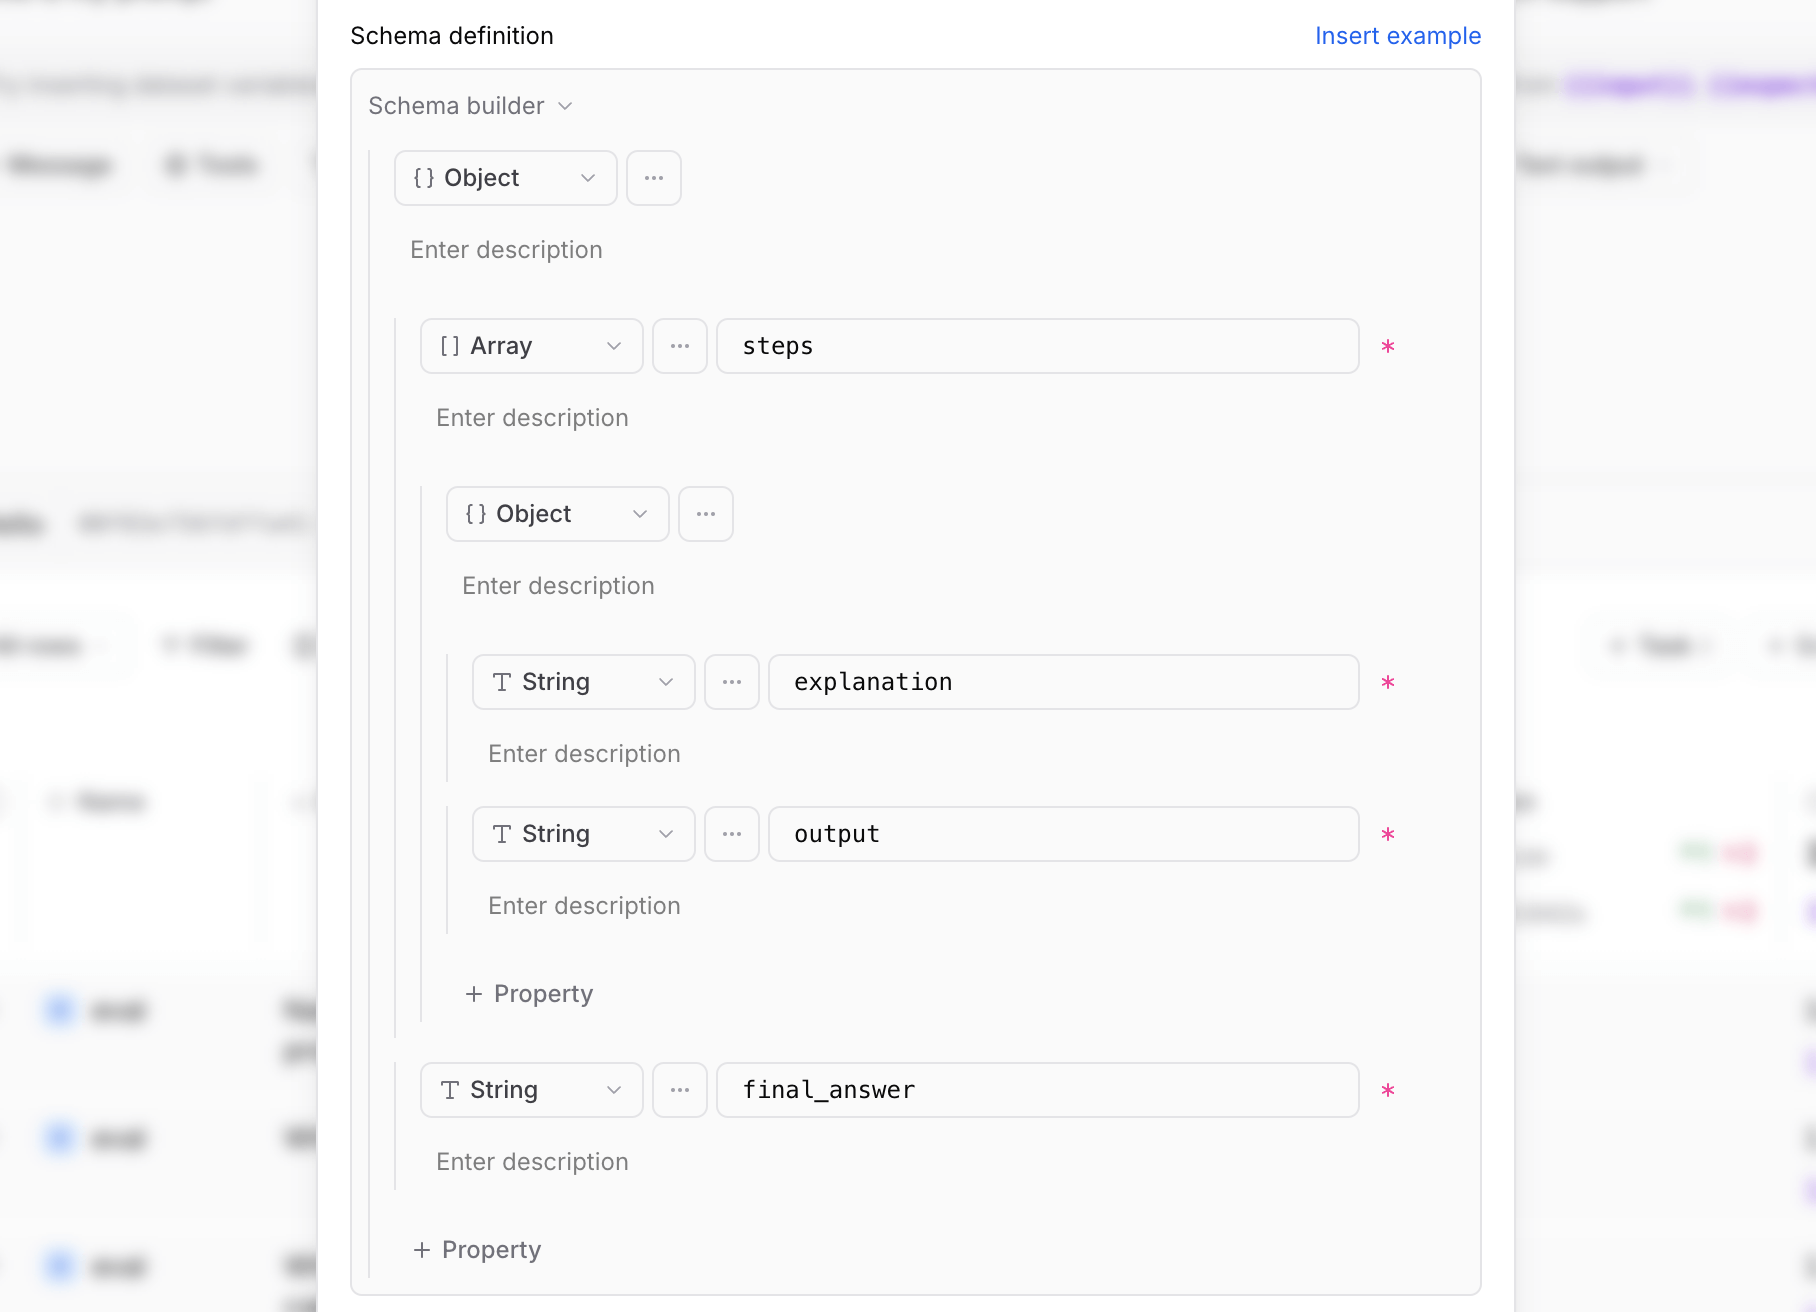
Response format: By default, prompts return freeform text, but you can also return a JSON object or define a specific JSON schema for structured outputs (OpenAI models only). Structured outputs correspond to the
response_format.json_schemaargument in the OpenAI API. - Description (optional): Context about what the prompt does and when to use it.
- Metadata (optional): Additional information to attach to the prompt.
- Click Save as custom prompt.
Add tools
Tools extend your prompt’s capabilities by allowing the LLM to call functions during execution. This enables prompts to:- Query external APIs or databases
- Perform calculations or data transformations
- Retrieve information from vector stores or search engines
- Execute custom business logic
- UI
- SDK
To add tools to a prompt in the UI:
- When creating or editing a prompt, click Tools.
- Select tool functions from your library or add a raw tools as JSON. Raw tools corresponds to the
toolsargument in the OpenAI API. - Click Save tools.
Use templating
To make your prompts dynamic and reusable, you can use variables that get substituted with actual values when the prompt is invoked. Braintrust supports the Mustache and Nunjucks templating syntax for variables:- Mustache (default): Simple variable substitution and basic logic
- Nunjucks: Advanced templating with loops, conditionals, and filters
Nunjucks is a UI-only feature. It works in playgrounds but not when invoked via SDK.
Mustache
Mustache is the default templating language. It’s simple, widely supported, and sufficient for most use cases.Basic variable substitution
Basic variable substitution
Use
{{variable}} to insert values:Nested properties
Nested properties
Access nested object properties with dot notation:
Sections and iteration
Sections and iteration
Use sections to iterate over arrays or conditionally show content:
Inverted sections
Inverted sections
Use
^ to show content when a value is falsy or empty:Comments
Comments
Preserve special characters
Preserve special characters
If you want to preserve double curly brackets
{{ and }} as plain text in your prompts when using Mustache, change the delimiter tags to any custom string of your choosing. For example, if you want to change the tags to <% and %>, insert {{=<% %>=}} into the message, and all strings below in the message block will respect these delimiters:Dataset edits in playgrounds edit the original dataset.
Strict mode
Strict mode
Mustache supports strict mode, which throws an error when required template variables are missing:
Nunjucks
For more complex templating needs, you can use Nunjucks, a powerful templating language that supports loops, conditionals, filters, and more. Nunjucks implements the Jinja2 templating syntax in JavaScript. If you’re familiar with Jinja templates from Python, the syntax will be familiar.Nunjucks is a UI-only feature. It works in playgrounds but not when invoked via SDK.
Loops
Loops
Process arrays and iterate over data:Loop variables provide useful metadata:Available loop variables:
loop.index (1-indexed), loop.index0 (0-indexed), loop.first, loop.last, loop.lengthConditionals
Conditionals
Add logic to your prompts:Combine conditionals with loops:
Filters
Filters
Transform data with built-in filters:Common filters:
upper,lower: Change casetitle,capitalize: Capitalize textjoin(separator): Join array elementslength: Get array or string lengthdefault(value): Provide default valuereplace(old, new): Replace text
String operations
String operations
Concatenate strings with
~:Nested data access
Nested data access
Access nested properties and array elements:
Add MCP servers
You can use public MCP (Model Context Protocol) servers to give your prompts access to external tools and data. This is useful for:- Evaluating complex tool calling workflows
- Experimenting with external APIs and services
- Tuning public MCP servers
MCP servers are a UI-only feature. They work in playgrounds and experiments
but not when invoked via SDK.
Add to a prompt
To add an MCP server to a prompt:- When creating or editing a prompt, directly or in a playground or experiment, click MCP.
- Enable any available project-wide servers.
- To add a prompt-specific MCP server, click MCP server:
- Provide a name, the public URL of the server, and an optional description.
- Click Add server.
- Authenticate the MCP server in your browser.
Add to a project
Project-wide MCP servers are accessible across all projects in your organization. To add a project-wide MCP server:- Go to Configuration > MCP.
- Click MCP server and provide a name, the public URL of the server, and an optional description.
- Click Authenticate to authenticate the MCP server in your browser. After authenticating, you’ll see a list of tools that will available to prompts using the MCP server.
- Click Save.
Version a prompt
Every time you save changes to a prompt, Braintrust creates a new version with a unique identifier (e.g.,5878bd218351fb8e). This versioning system allows you to:
- Track the evolution of your prompts over time
- Pin specific versions in production code
- Roll back to previous versions if needed
- Compare performance across different versions
Test in a playground
Playgrounds provide an interactive environment for testing and refining prompts before deploying them. You can:- Test prompts with real-world inputs
- Adjust parameters like temperature and max tokens in real-time
- Compare outputs from different models
- Save new versions once you’re satisfied with the results


Use in an experiment
Experiments allow you to systematically evaluate prompt performance across multiple test cases. When using prompts in experiments, you can:- Test prompts against datasets of inputs and expected outputs
- Compare multiple prompt versions or configurations side-by-side
- Measure performance using built-in or custom scoring functions
- Identify regressions or improvements as you iterate
Use in code
Invoke directly
In Braintrust, a prompt is a simple function that can be invoked directly through the SDK and REST API. When invoked, prompt functions leverage the proxy to access a wide range of providers and models with managed secrets, and are automatically traced and logged to your Braintrust project.result, is a string unless you have tool calls, in which case it returns the arguments
of the first tool call. In TypeScript, you can assert this by using the schema argument, which ensures your
code matches a particular zod schema.
Load a prompt
TheloadPrompt()/load_prompt()
function loads a prompt into a simple format that you can pass along to the OpenAI client.
loadPrompt also caches prompts with a two-layered cache
and attempts to use this cache if the prompt cannot be fetched from the Braintrust server:
- A memory cache, which stores up to
BRAINTRUST_PROMPT_CACHE_MEMORY_MAXprompts in memory. This defaults to 1024. - A disk cache, which stores up to
BRAINTRUST_PROMPT_CACHE_DISK_MAXprompts on disk. This defaults to 1048576.
BRAINTRUST_PROMPT_CACHE_DIR environment variable.
To use another model provider, use the Braintrust proxy to
access a wide range of models using the OpenAI format. You can also grab the
messages and other parameters directly from the returned object to use a
model library of your choice.Pin a specific version
When loading a prompt, you can reference a specific version:Get all versions
To retrieve a list of all available versions, use thegetPromptVersions() function:
Add extra messages
If you’re building a chat app, it’s often useful to send back additional messages of context as you gather them. You can provide OpenAI-style messages to theinvoke function by adding messages, which are appended to the end of the built-in messages.
Stream results
You can also stream results in an easy-to-parse format.@braintrust/vercel-ai-sdk package and converting the stream to Vercel’s format.
vercel-braintrust-adapter.ts
streamText to leverage the Vercel AI SDK directly. Configure the OpenTelemetry environment variables to log these requests to Braintrust.
vercel-braintrust-streamtext.ts
Log spans
invoke uses the active logging state of your application, just like any function decorated with @traced or wrapTraced.
This means that if you initialize a logger while calling invoke, it will automatically log spans to Braintrust. By default, invoke requests will log to a root span, but you can customize the name of a span using the name argument.

parent argument, a string that you can
derive from span.export() while doing distributed tracing.
Set chat/completion format
In Python,prompt.build() returns a dictionary with chat or completion parameters, depending on the prompt type. In TypeScript, however,
prompt.build() accepts an additional parameter (flavor) to specify the format. This allows prompt.build to be used in a more type-safe
manner. When you specify a flavor, the SDK also validates that the parameters are correct for that format.
typescript-chat-completion.ts
Download a prompt
Use version control to download prompts to your local filesystem and ensure you’re using a specific version. Use thepull command to:
- Download prompts to public projects so others can use them
- Pin your production environment to a specific version without running them through Braintrust on the request path
- Review changes to prompts in pull requests
braintrust pull, you can specify a project name, prompt slug, or version to pull. If you don’t specify
any of these, all prompts across projects will be pulled into a separate file per project. For example, using this command
to retrieve a project named Summary will generate the following file:
summary.ts
To pin your production environment to a specific version, run
braintrust pull with the --version flag.Open from traces
When you use a prompt in your code, Braintrust automatically links spans to the prompt used to generate them. This allows you to select a span to open it in the playground, and see the prompt that generated it alongside the input variables. You can even test and save a new version of the prompt directly from the playground.
{{! comment }}for comments that won’t appear in output: